Installing RansomStop for Windows
Overview
Before installation, you will receive a custom URL, a username, and a password. This guide walks you through logging in to the RansomStop dashboard and installing the Windows analyzer.
Login to the Dashboard
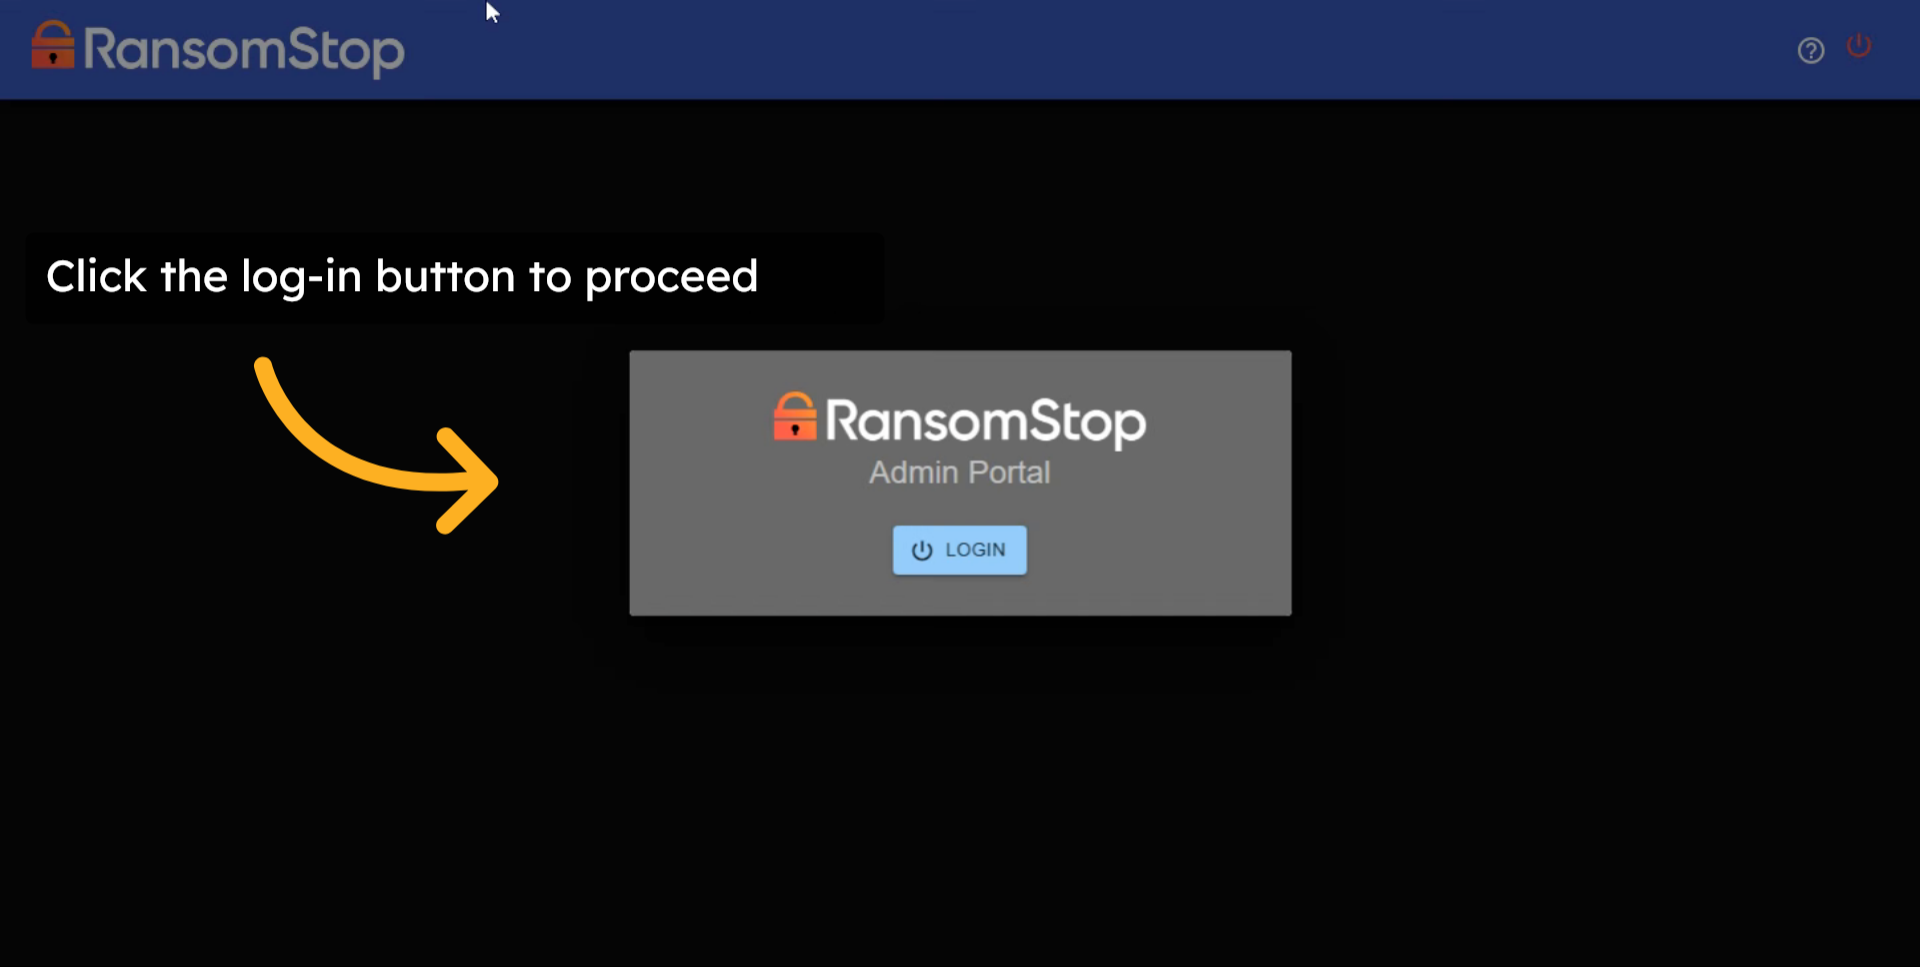
1. Navigate to Your Custom URL
You can navigate to the custom URL provided to begin the login and installation process.
2. Enter Your Email
Please enter the username that was provided. This will be in the form of an email.

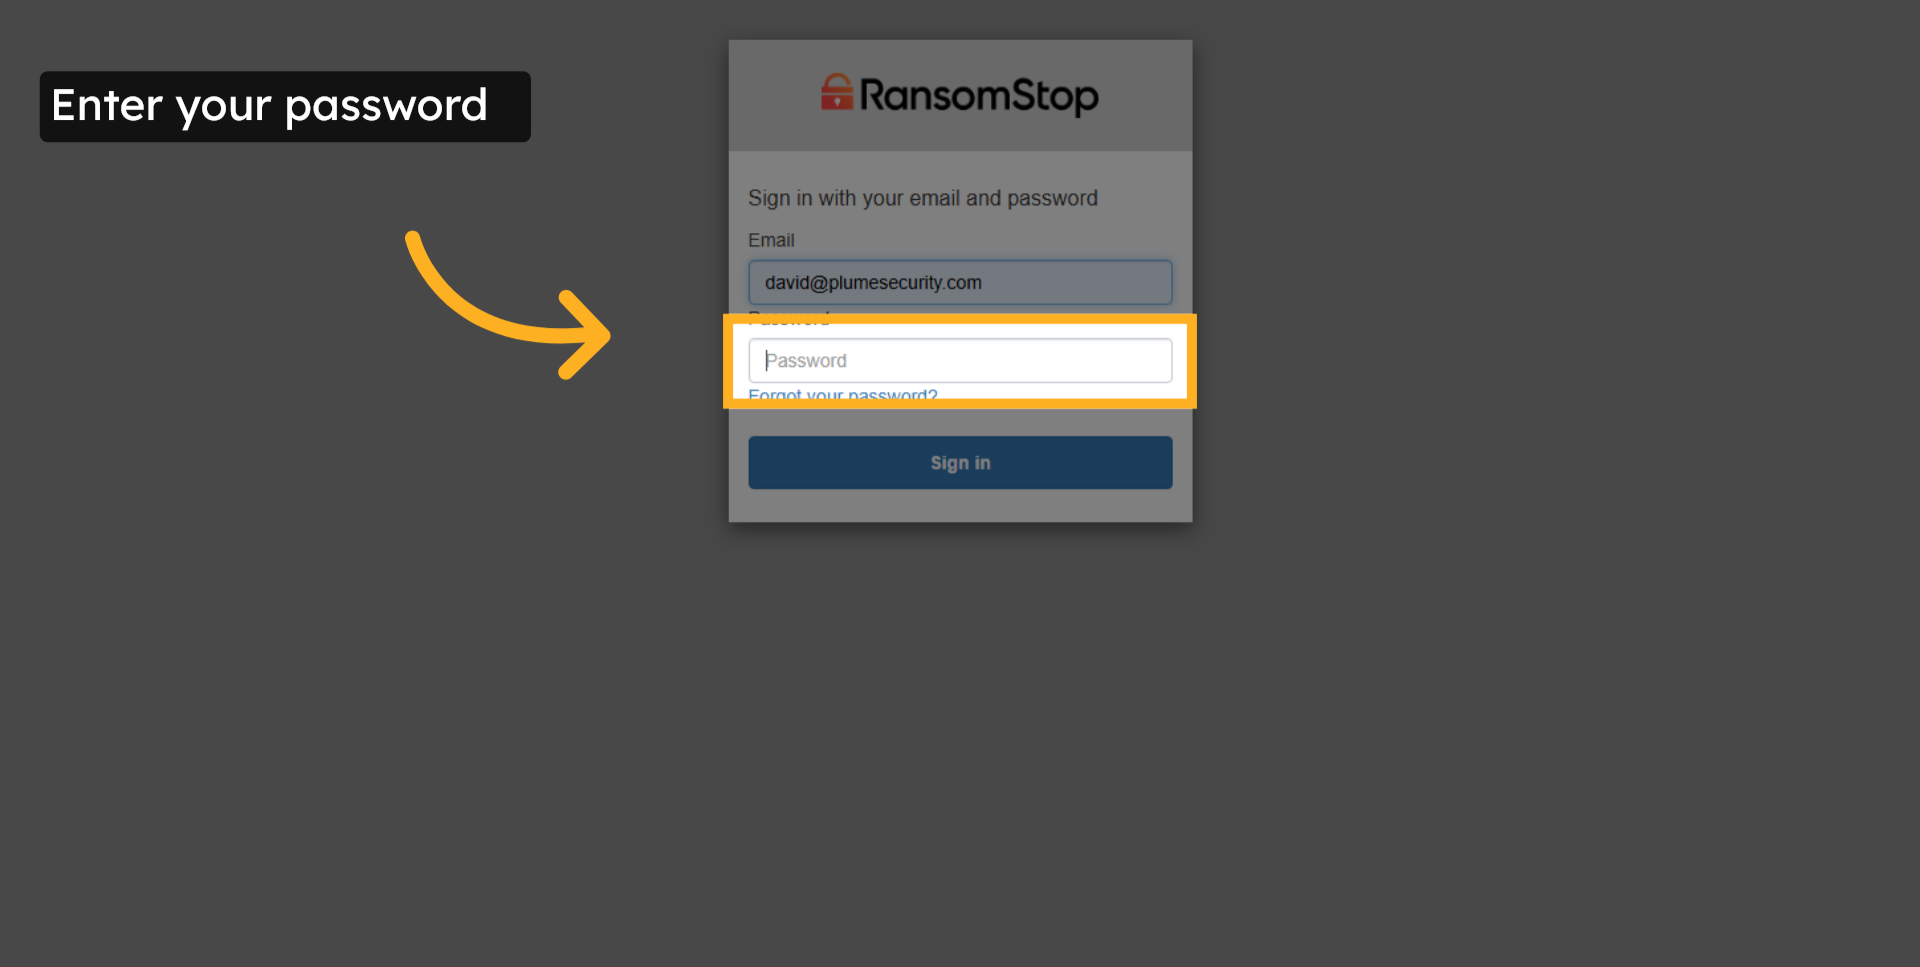
3. Enter Your Password
Enter the password that was provided.
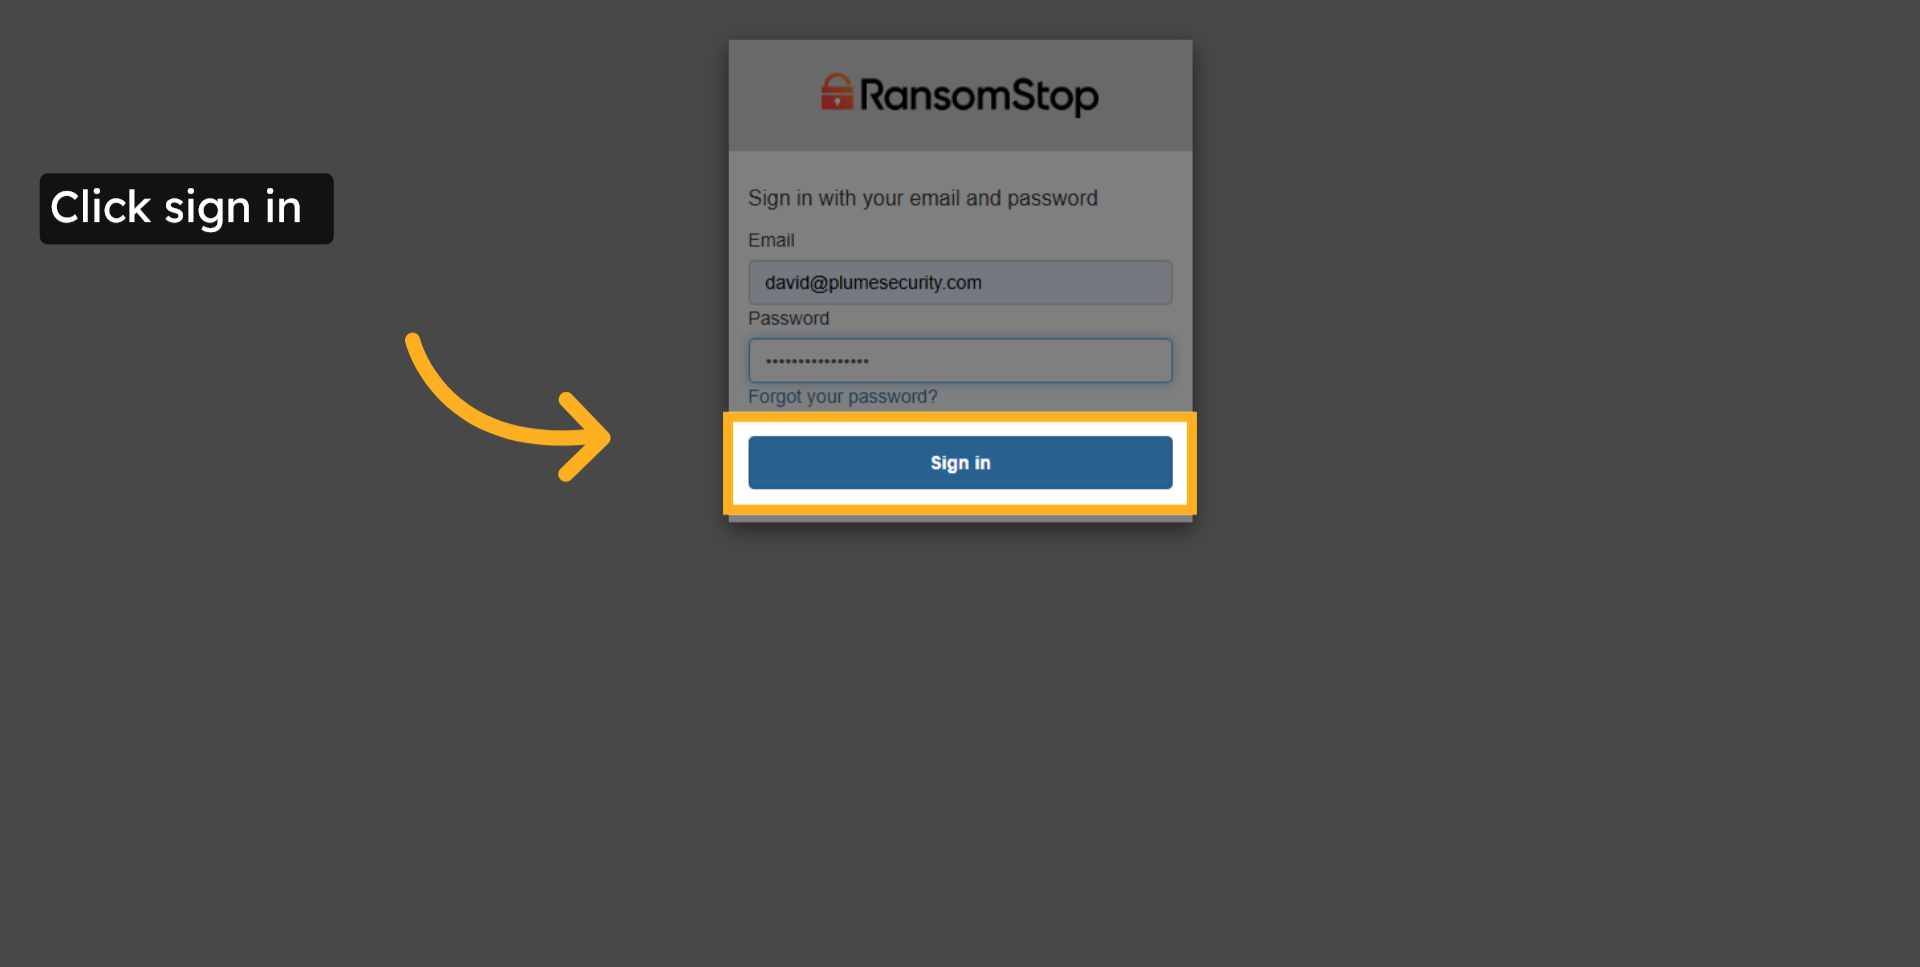
4. Click Sign In
Click the sign-in button to continue.
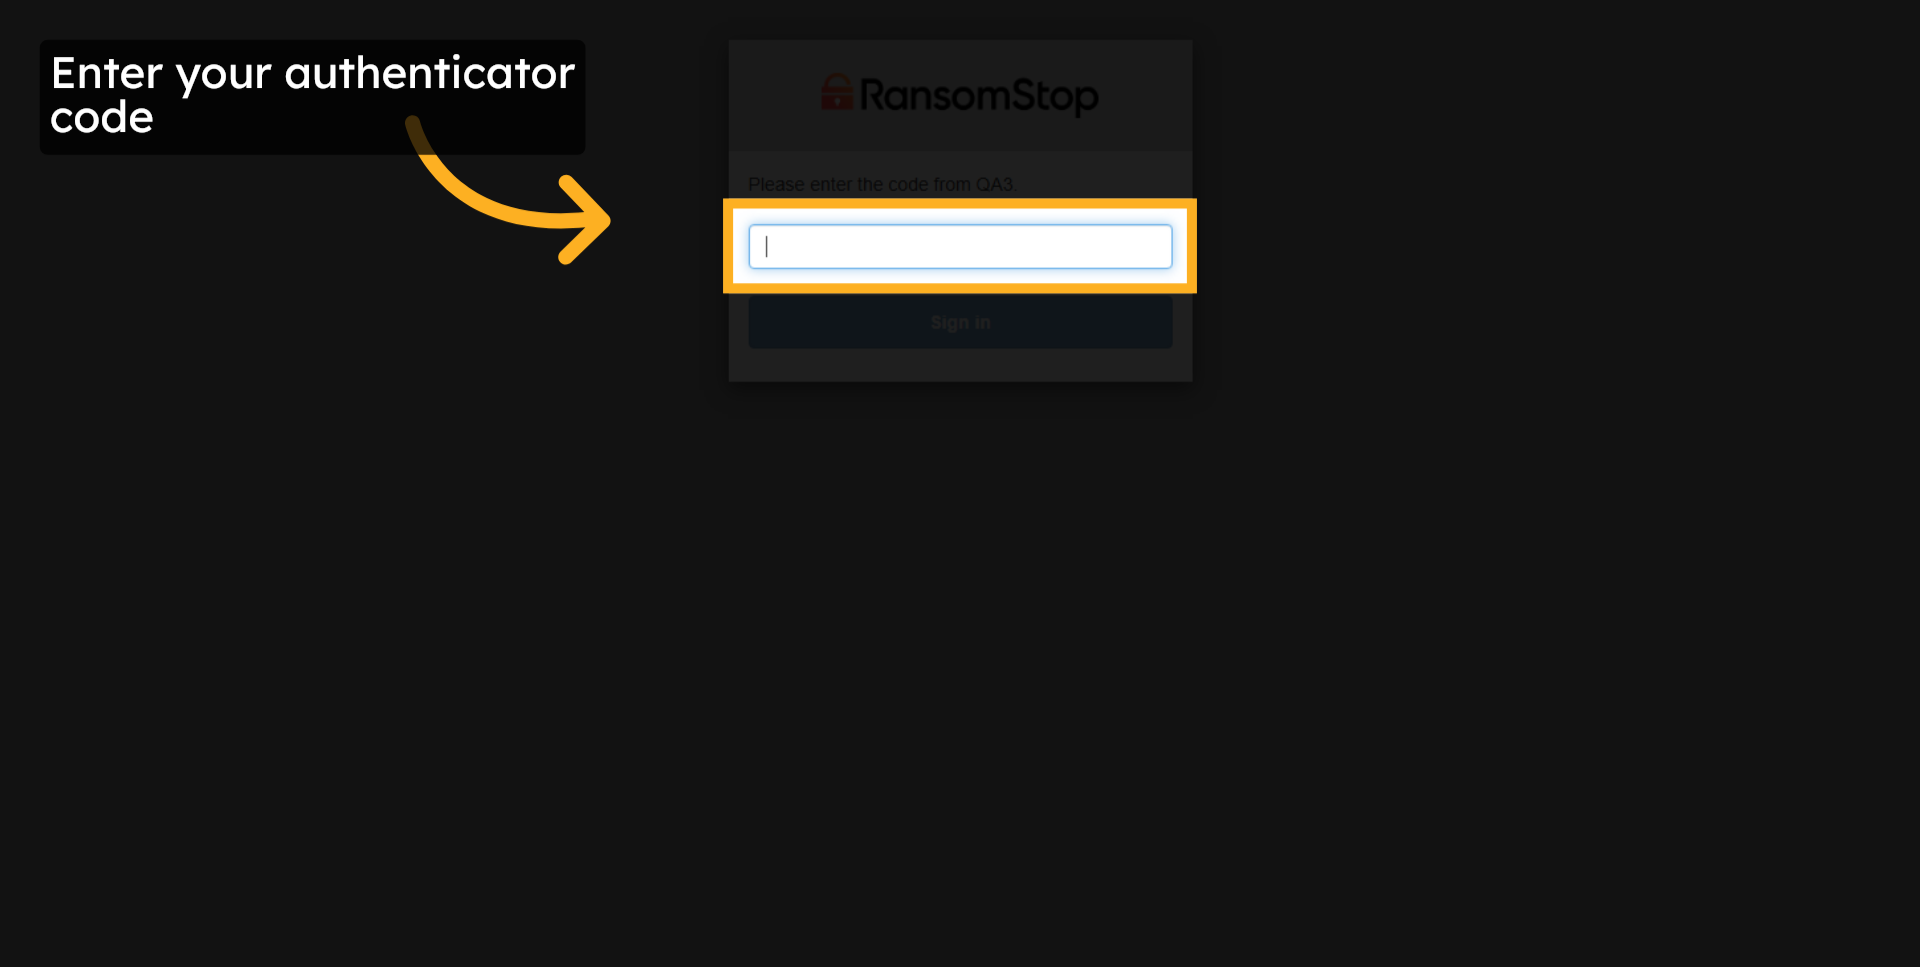
5. Enter Your Authenticator Code
If this is your first time logging in, you may be prompted to change your password and will be presented with a QR code to set up your MFA. Once your password has been reset and your MFA authenticator has been validated, enter your authenticator code here.
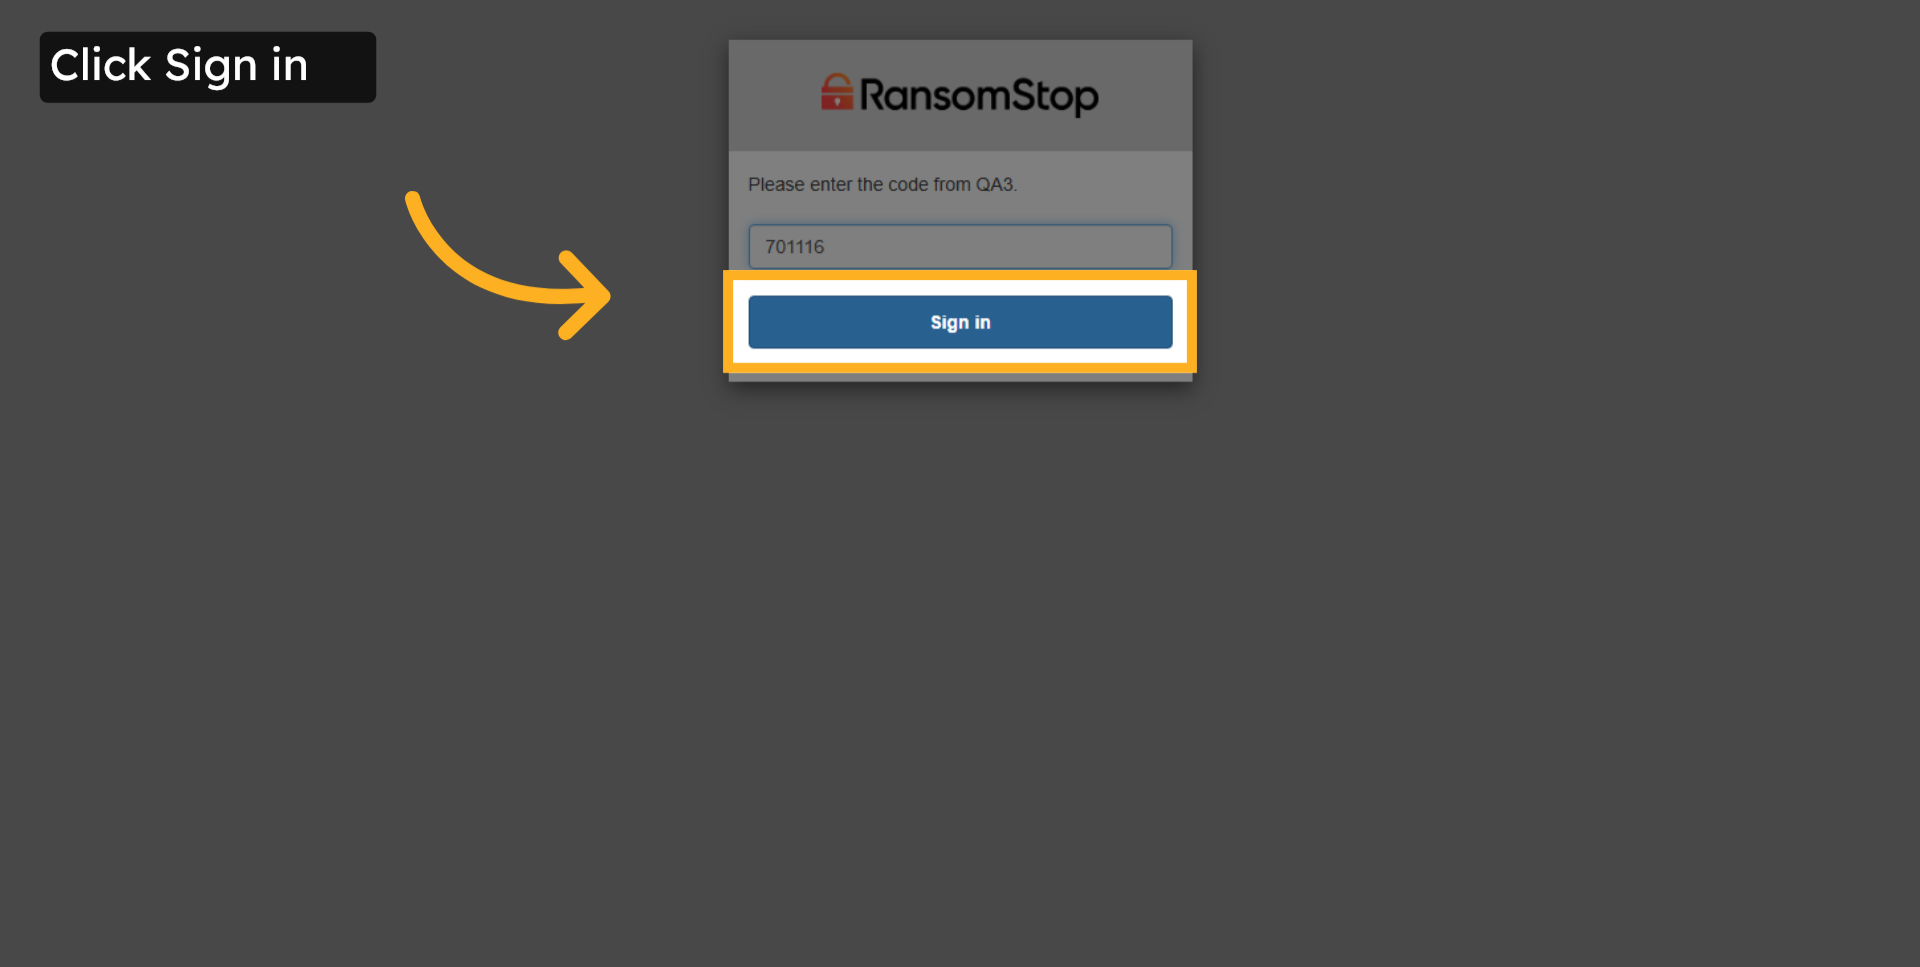
6. Click Sign In
Click the sign in button.
Download the Installer
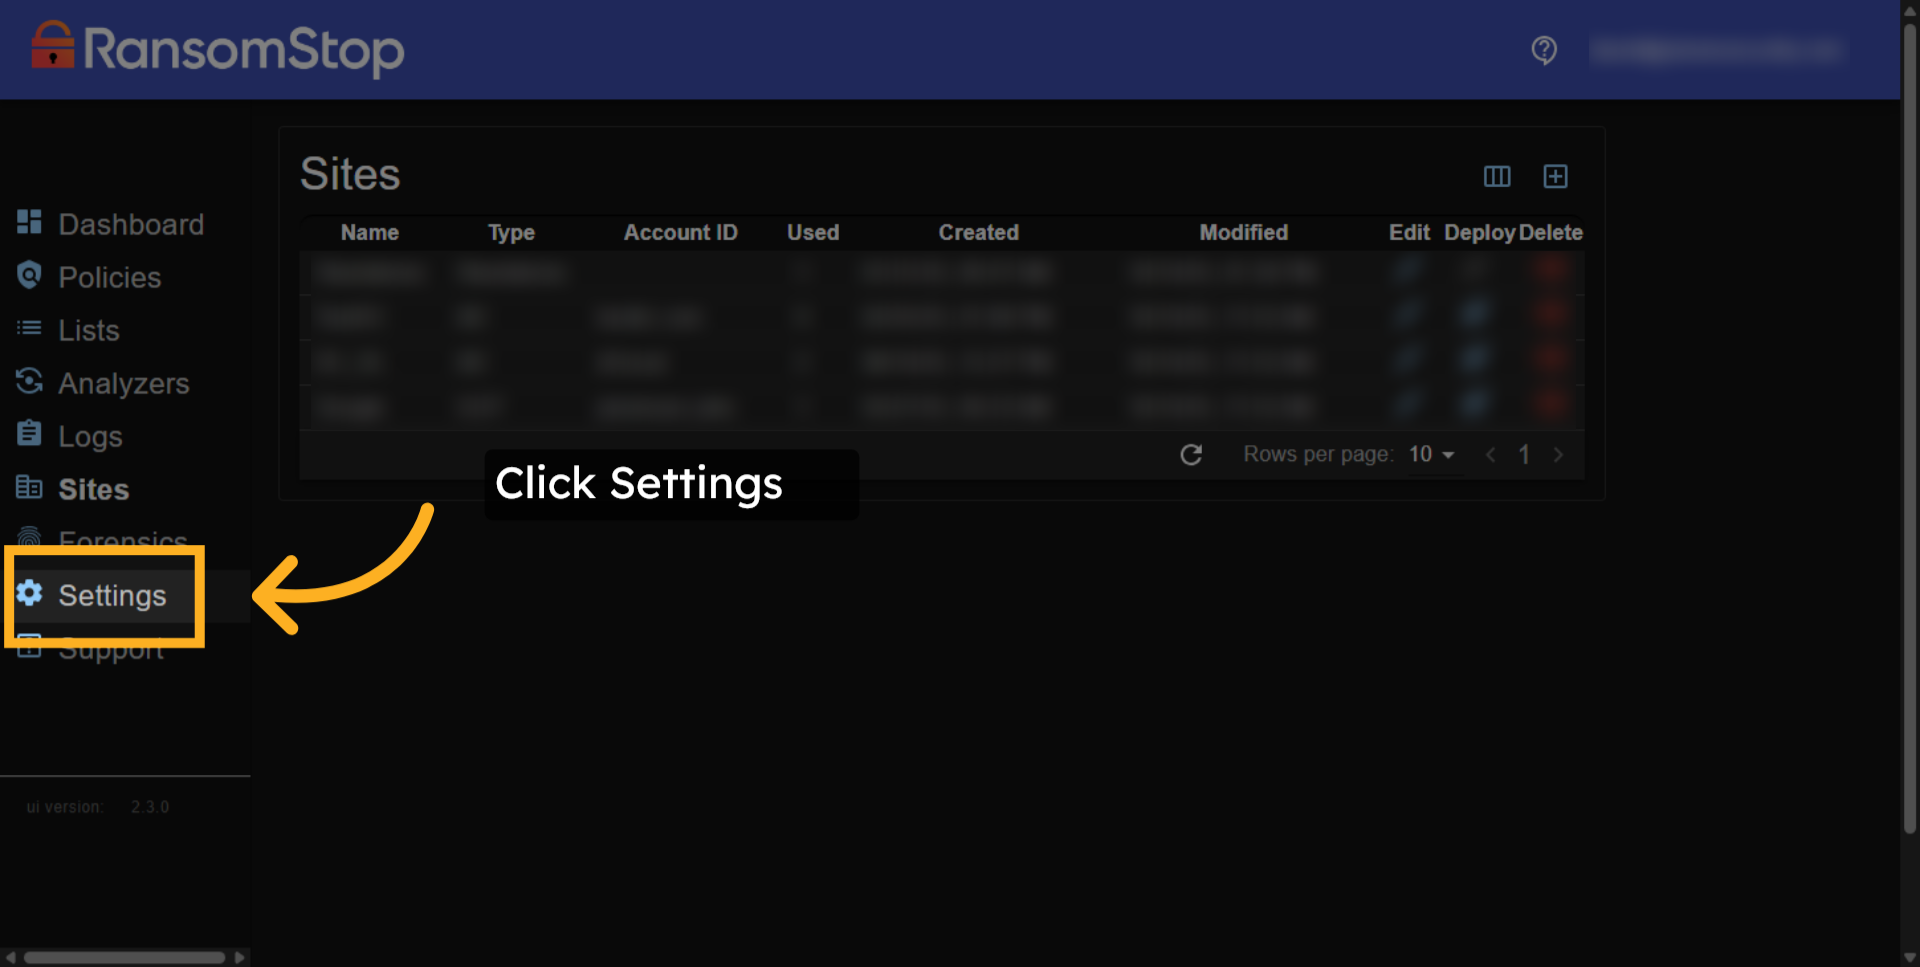
7. Open Settings Menu
When logging into your dashboard for the first time, most screens will be blank because there is no data to display yet. To continue the installation, click the Settings tab.
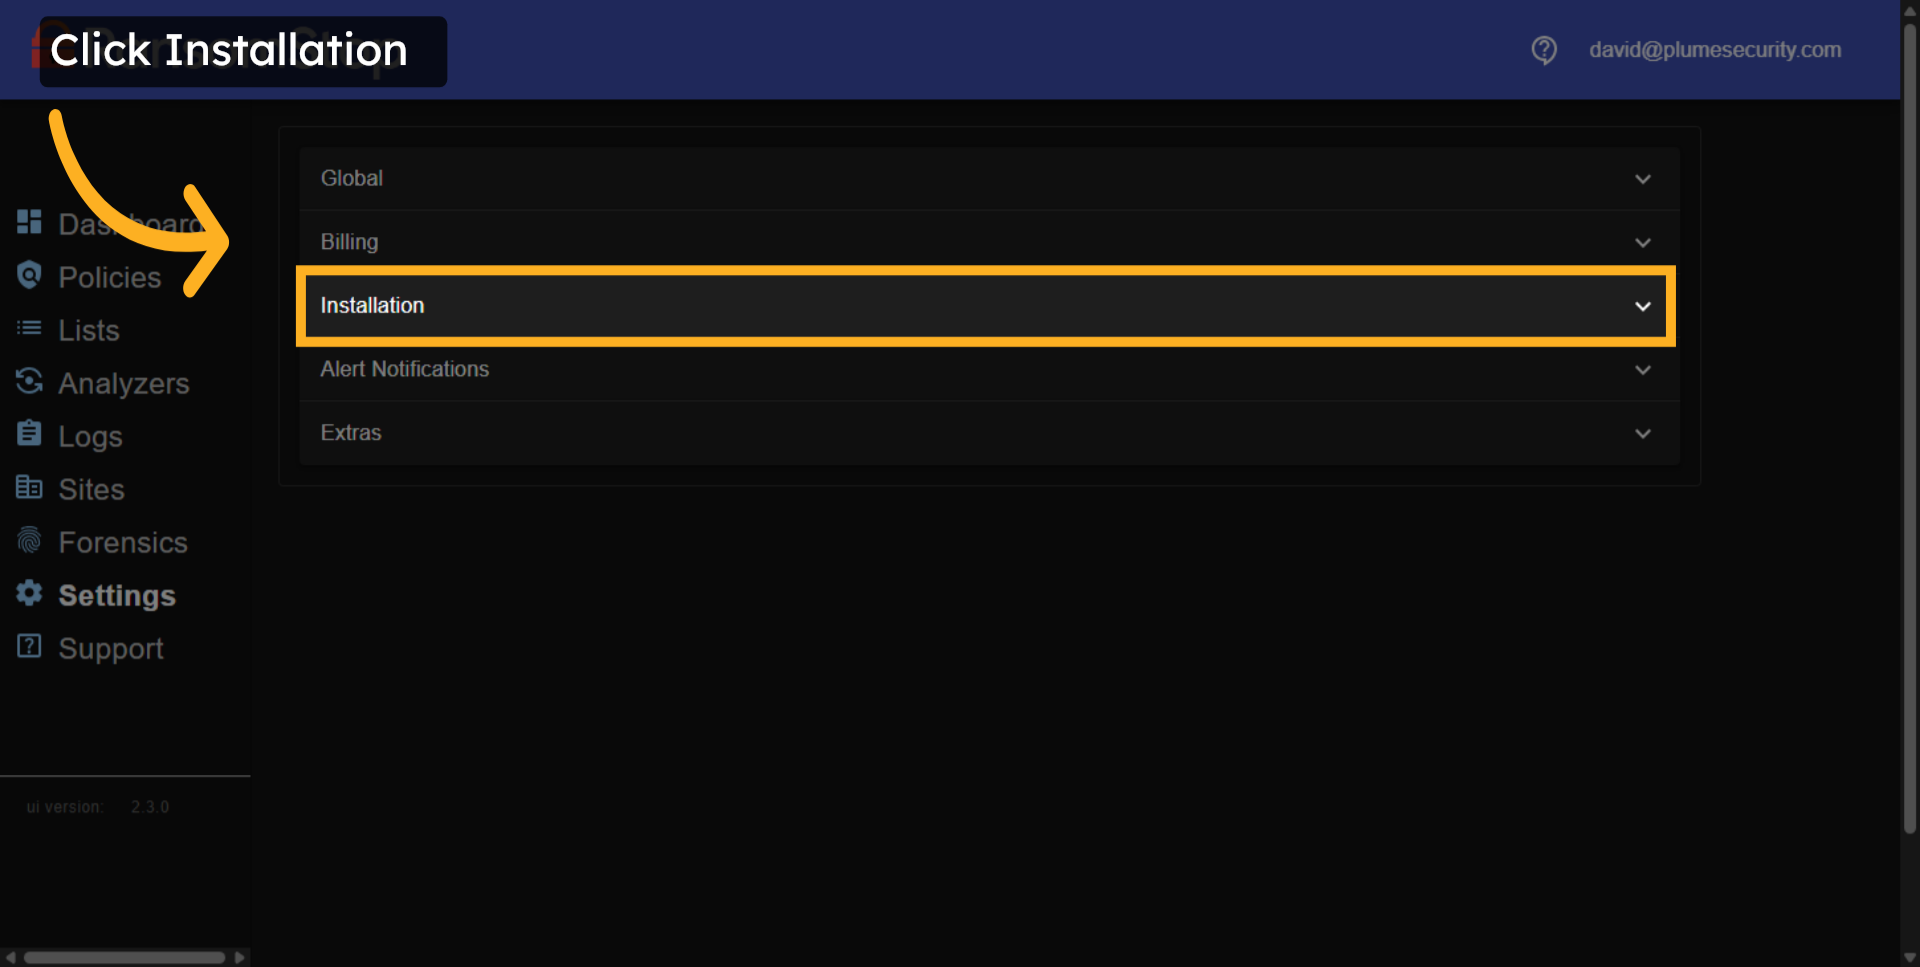
8. Access Installation Settings
Here, you will choose the installation option.
9. Copy Your Serial Number
On the installation page, you will have a serial number. Please copy that code as you will need it in one of the following steps.
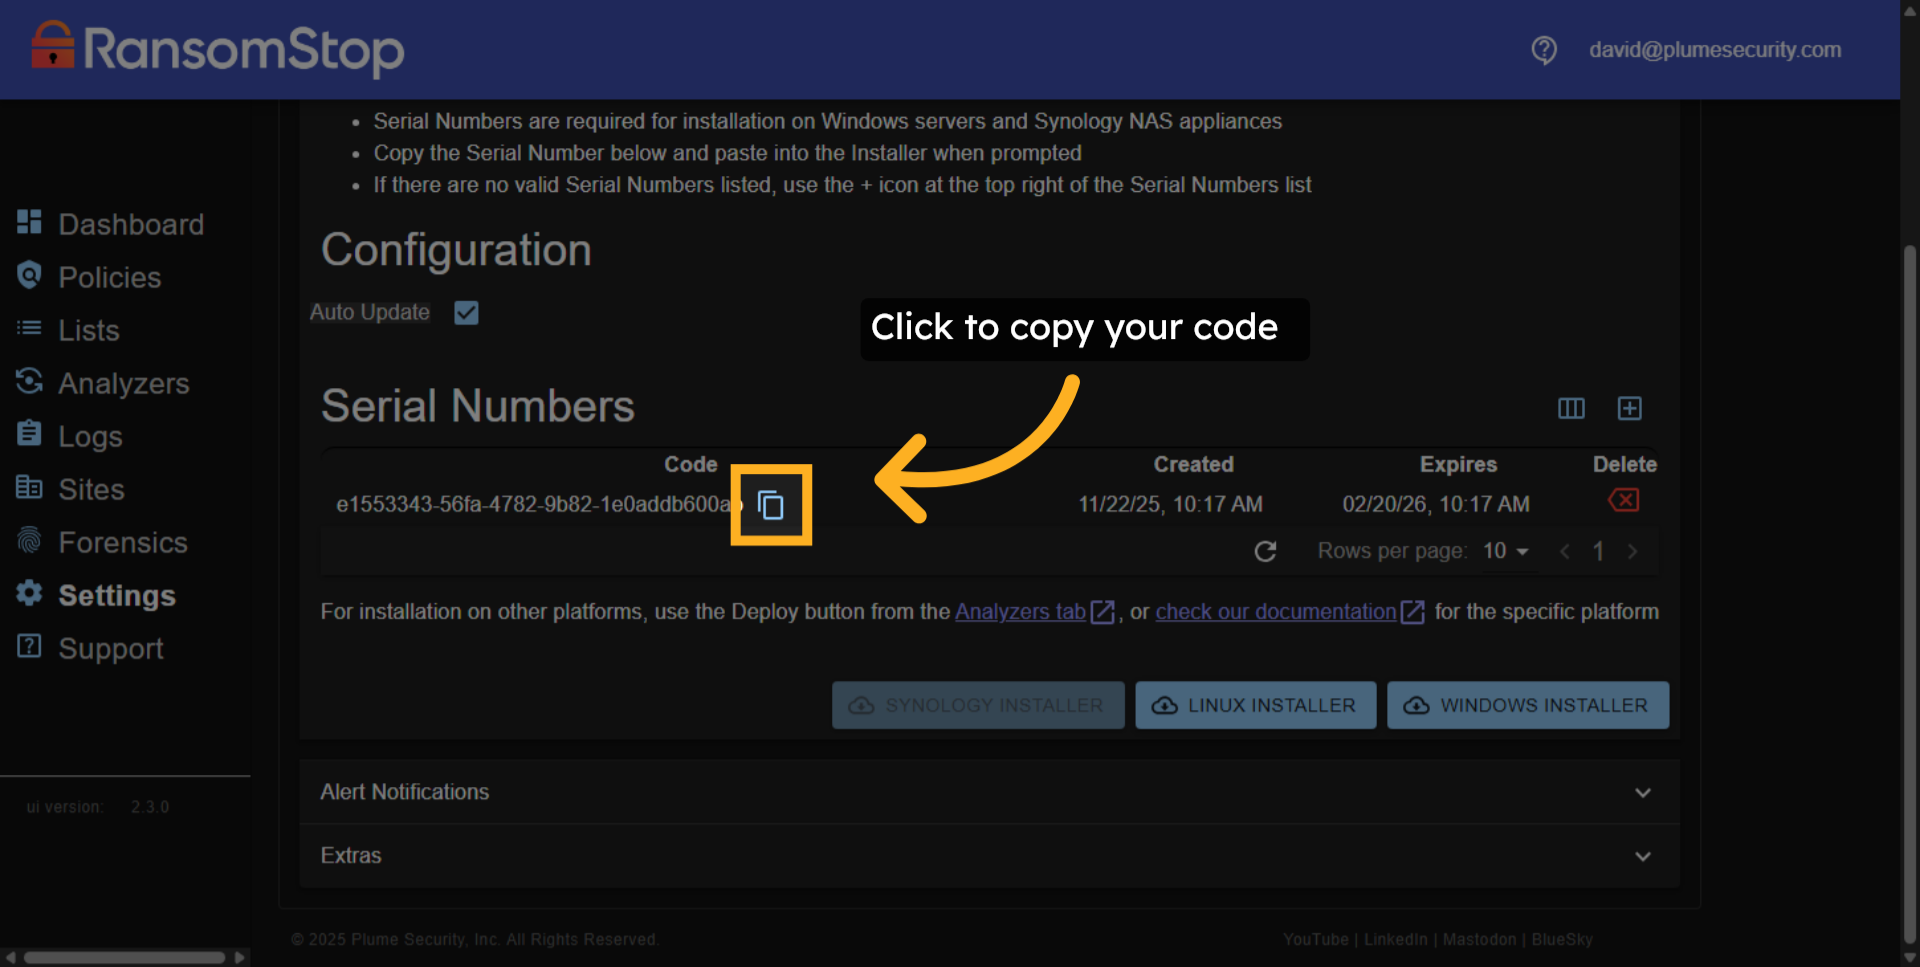
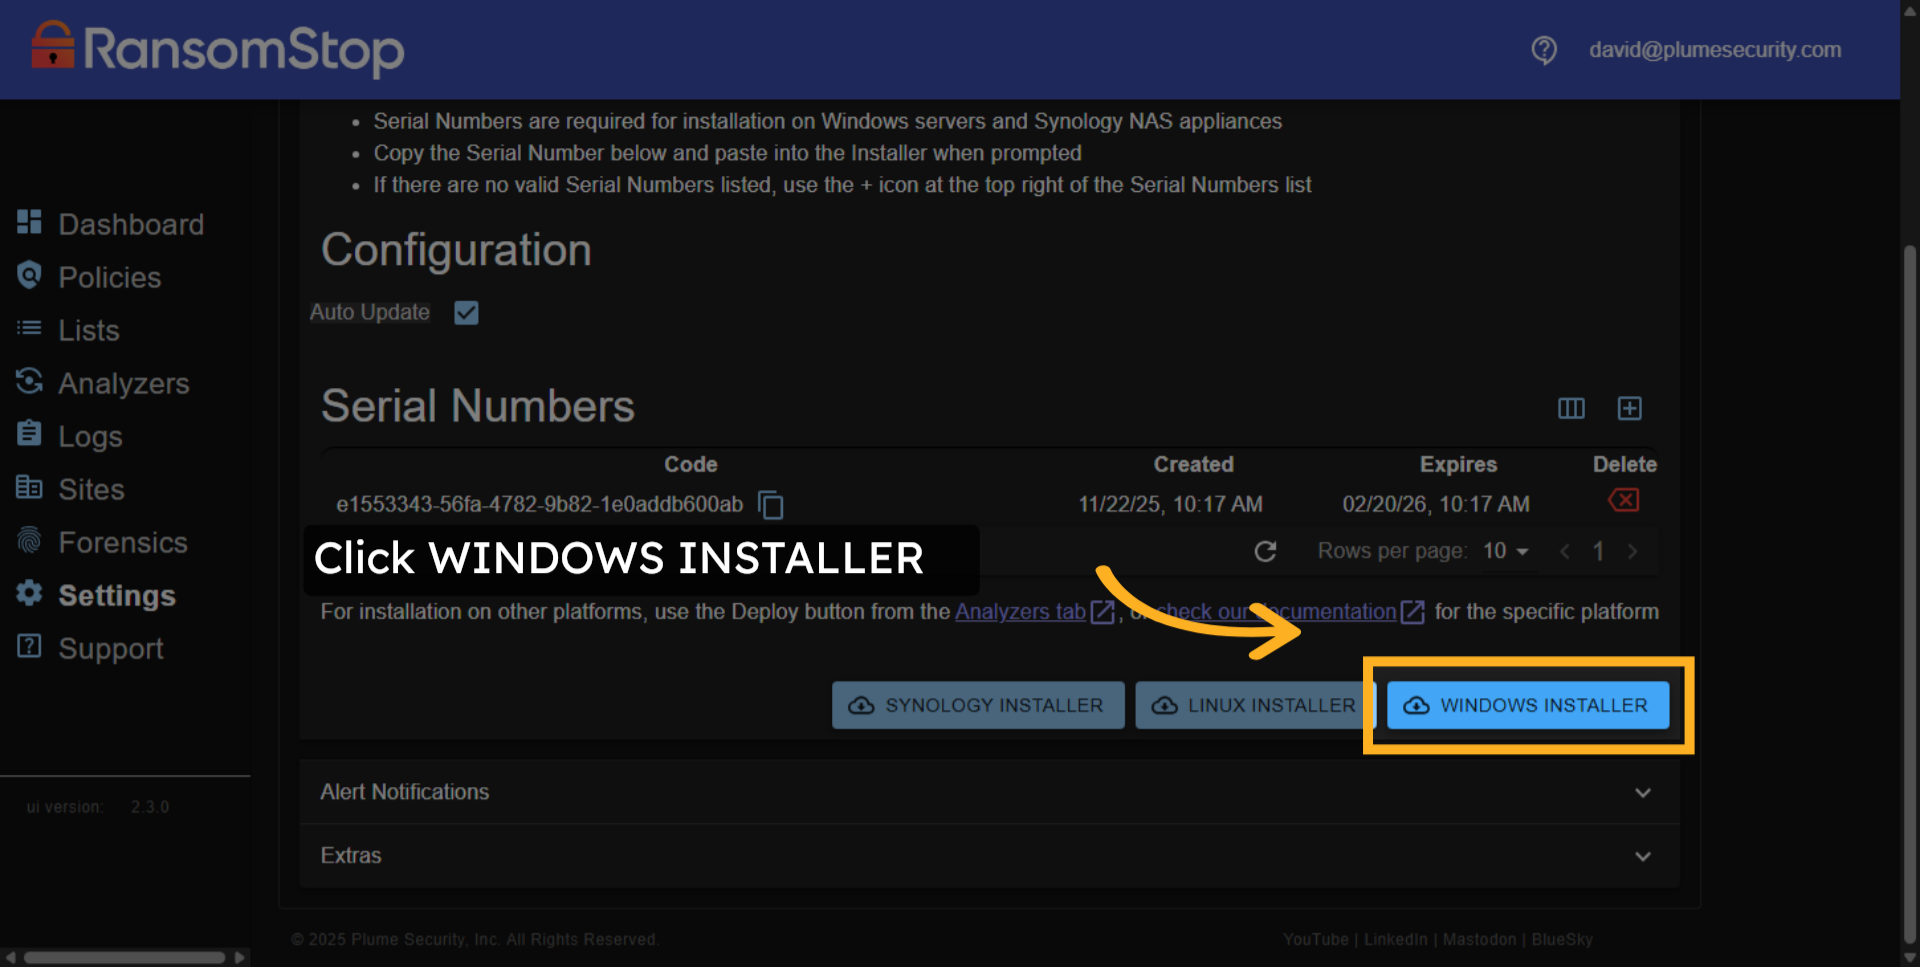
10. Download Windows Installer
The RansomStop installer is used for physical and virtual devices. In this particular instance, we are installing it on Windows. Choose the Windows installer.
Install RansomStop
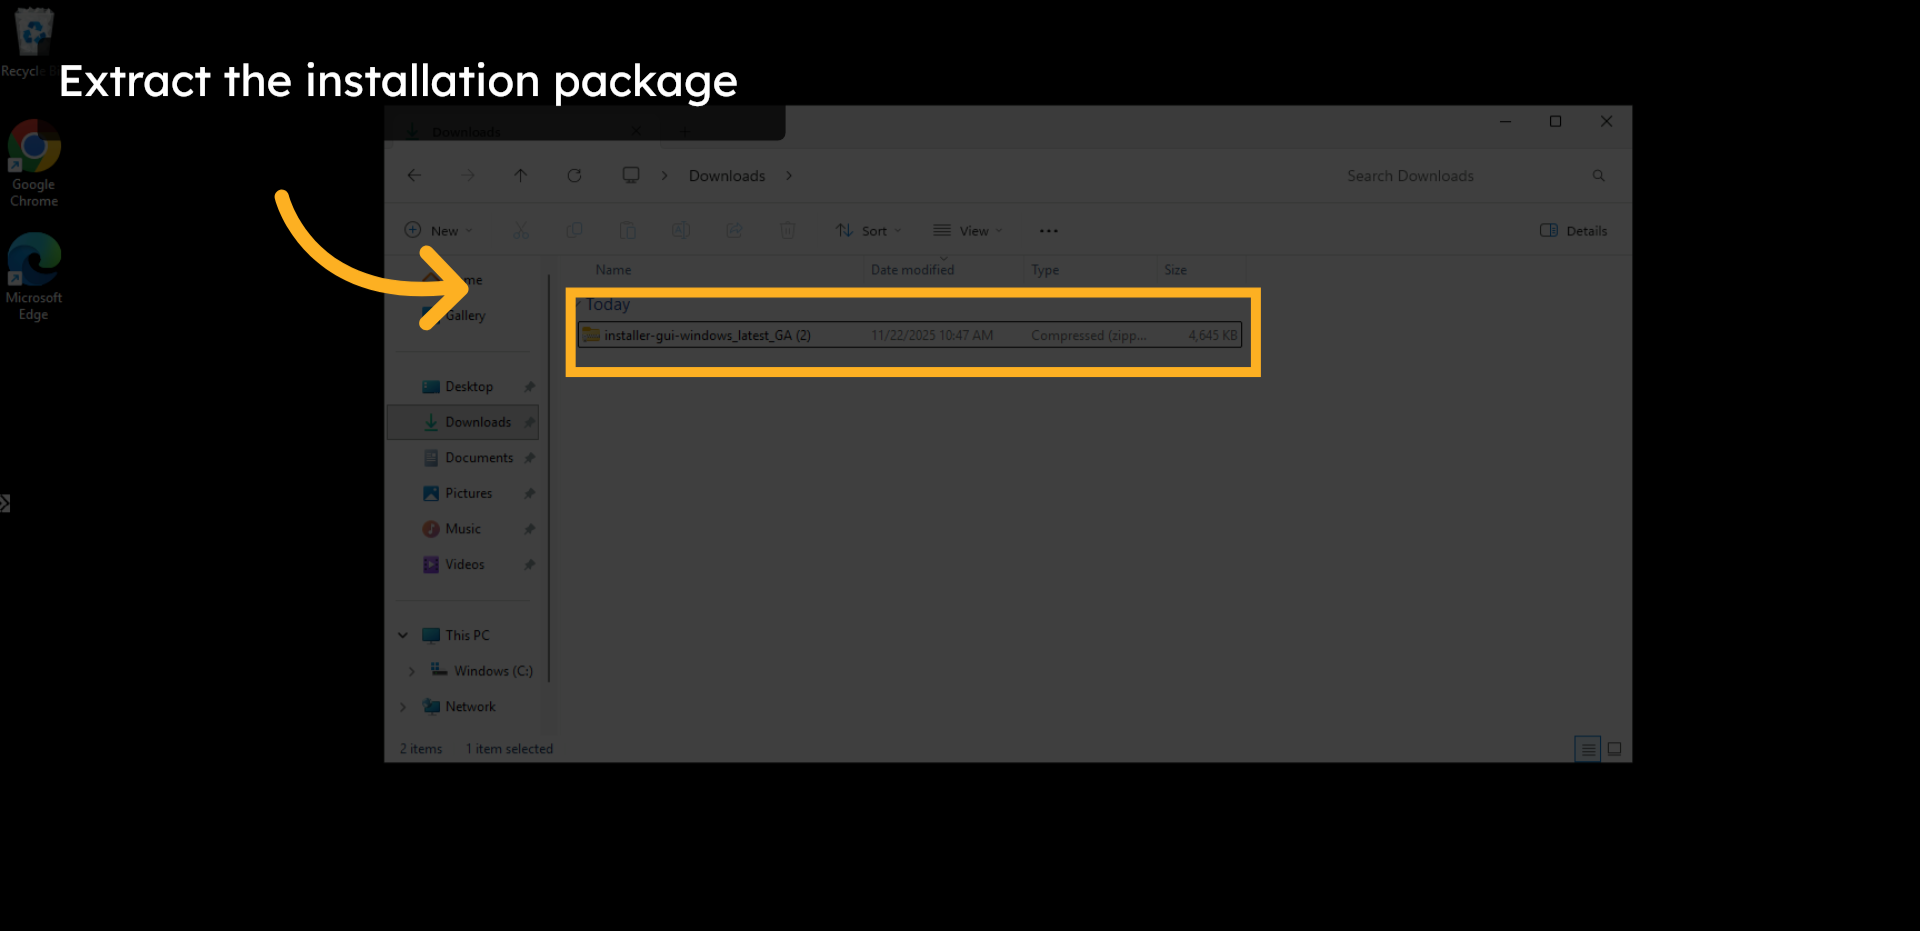
11. Extract the Installation Package
After you choose the Windows installer option, you will find the installation package in your download folder. Extract the installation package.
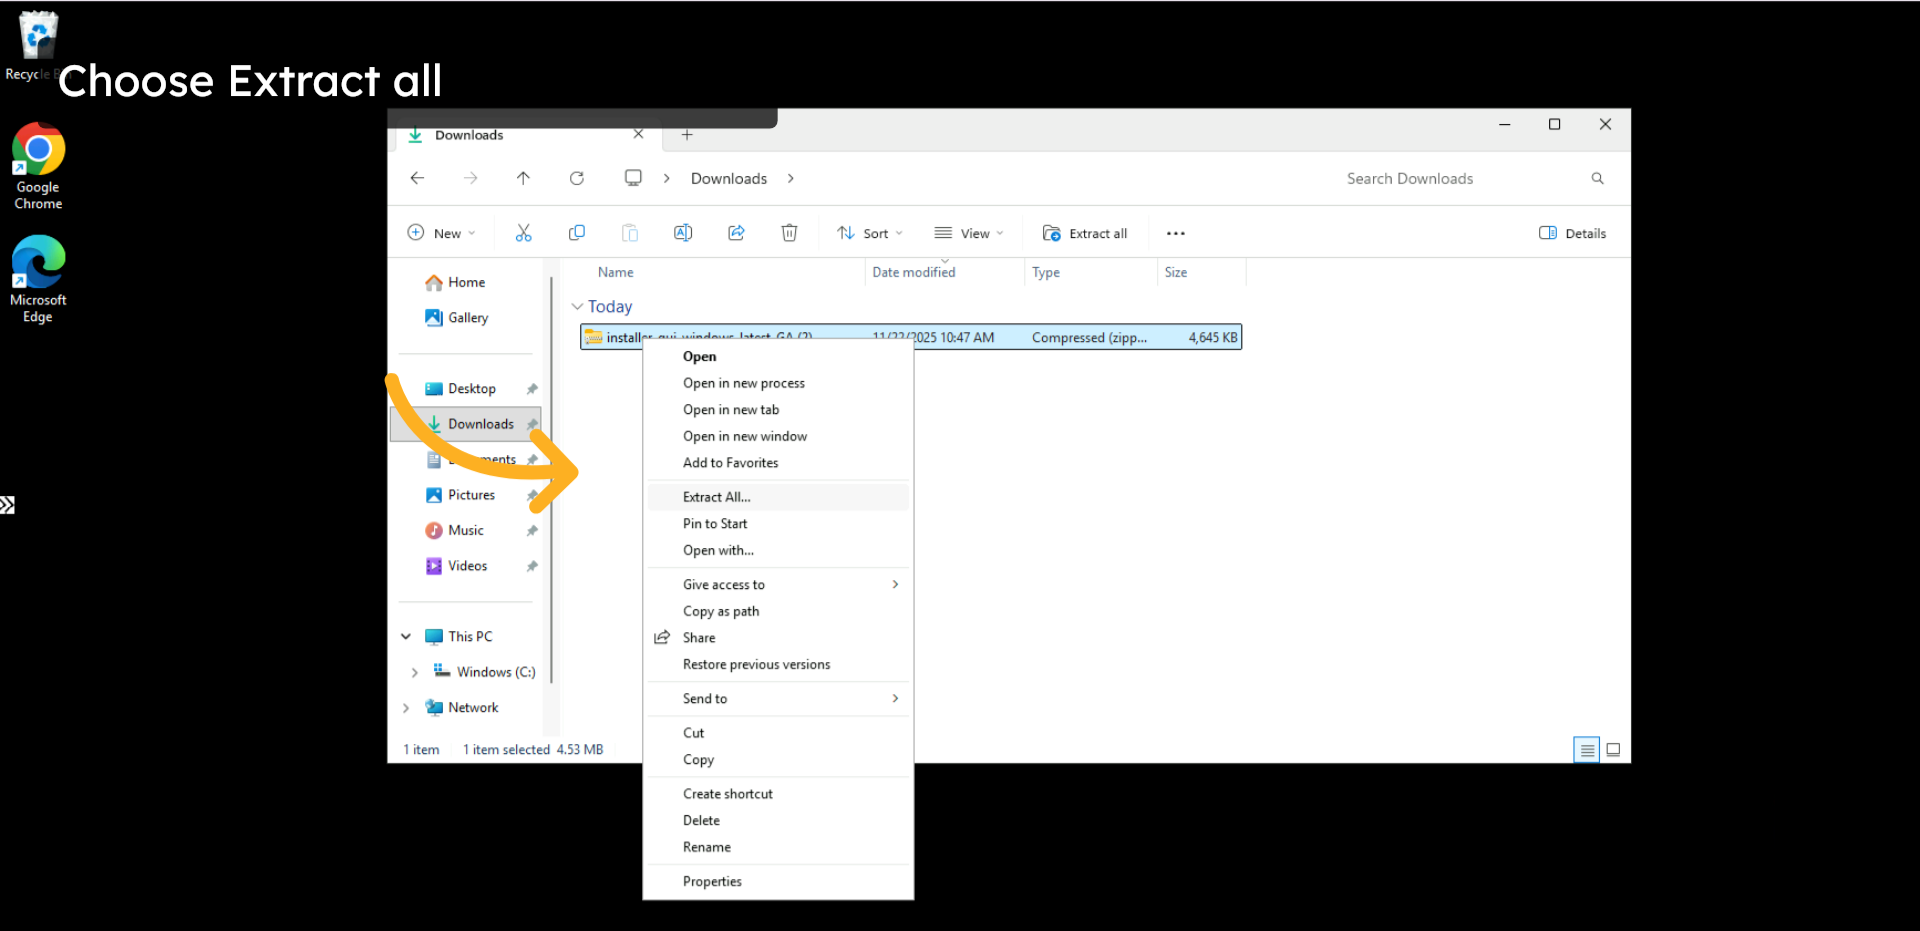
12. Choose Extract All
Choose Extract All at this point.
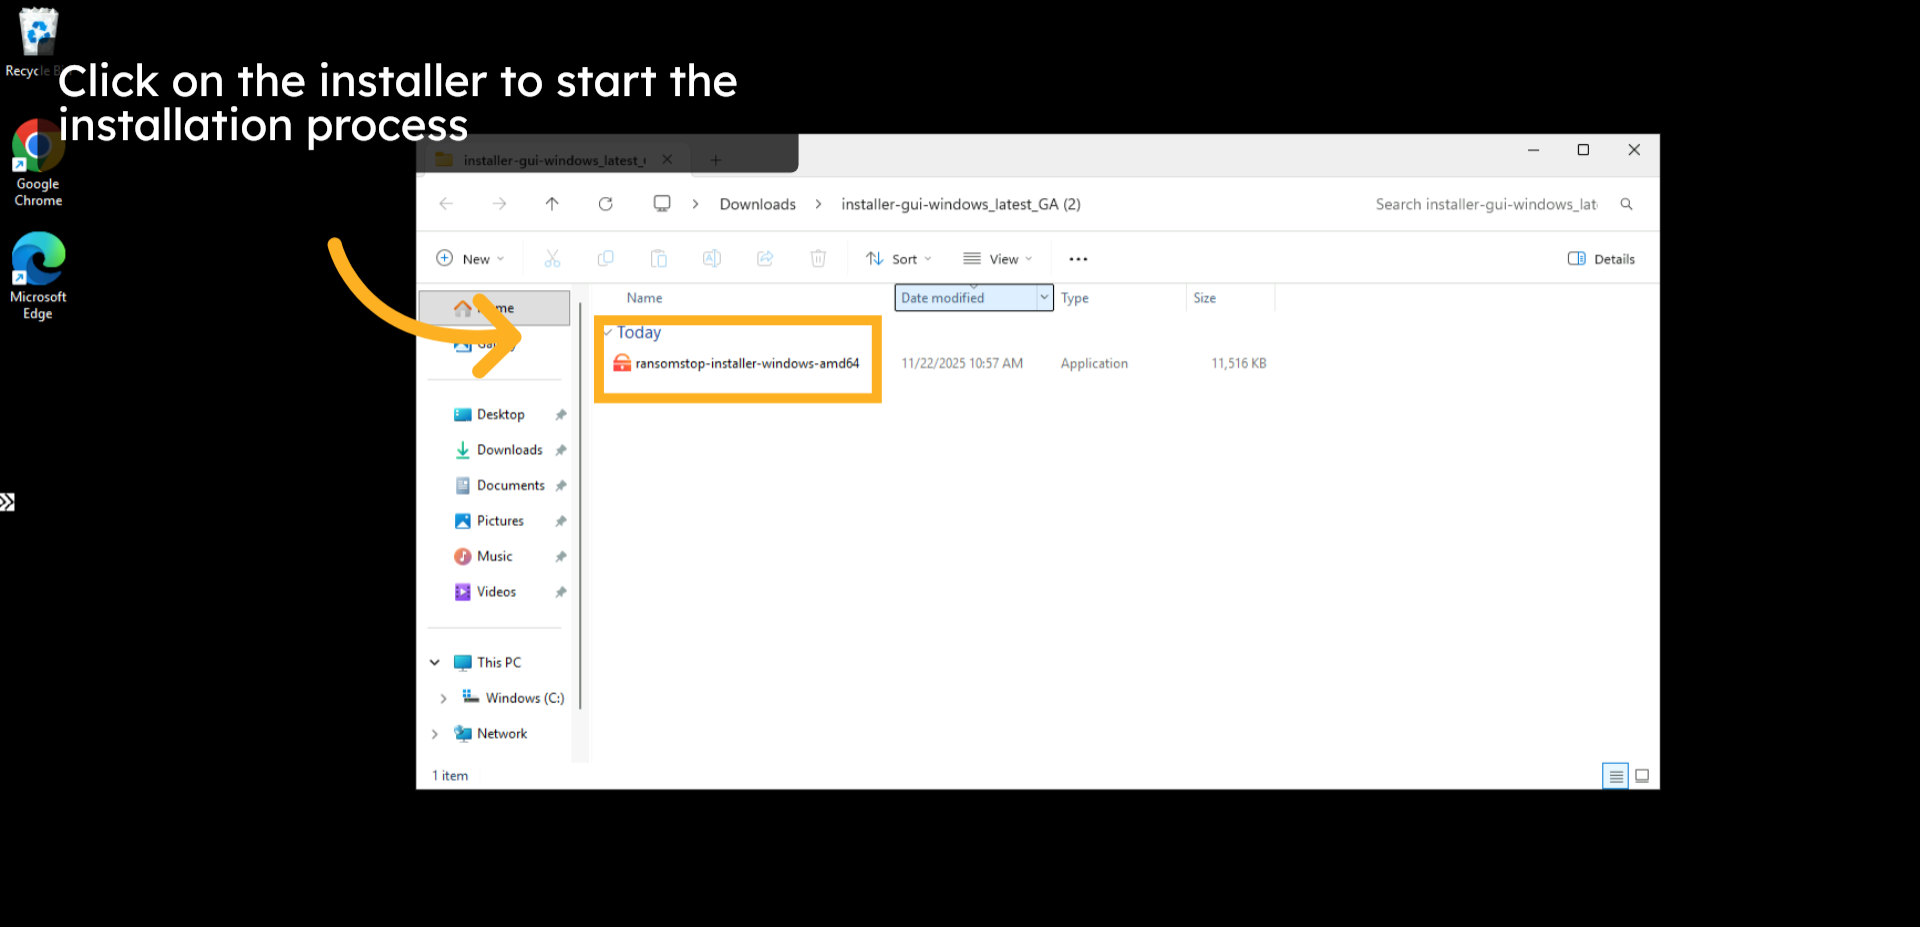
13. Run the Installer
After the extraction is complete, you will see the installer. The installer is located at the path chosen during the extraction process; the default is in the same folder where the installation package was downloaded.
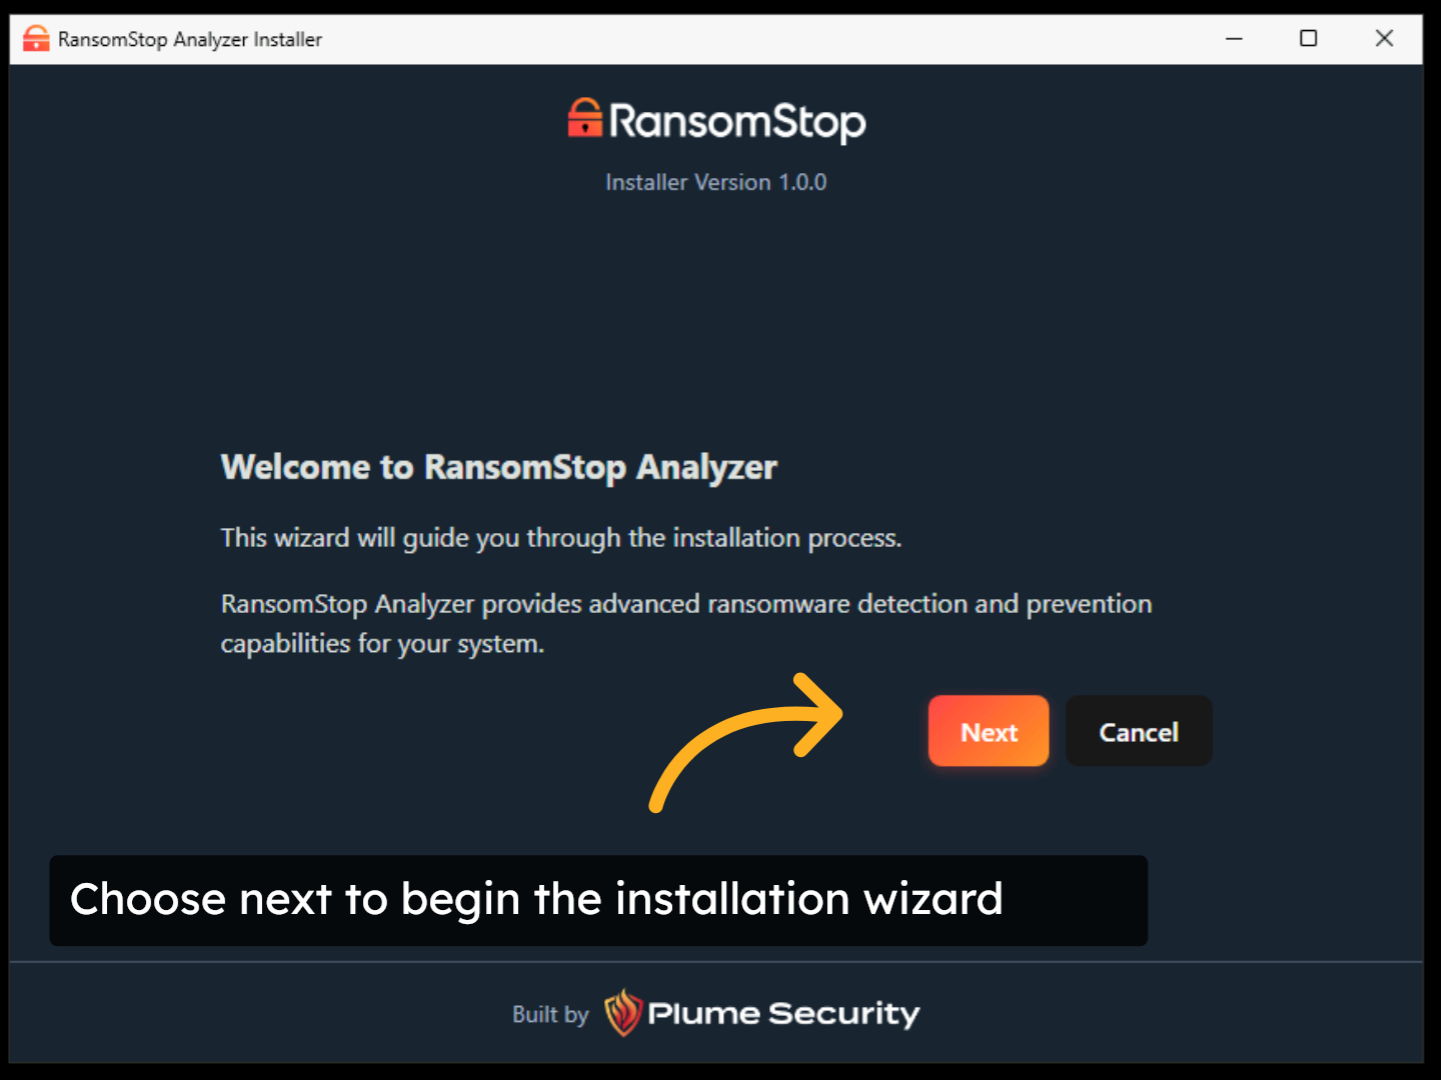
14. Begin the Installation Wizard
When the installation begins you will see the welcome screen. Choose Next to start the installation wizard.
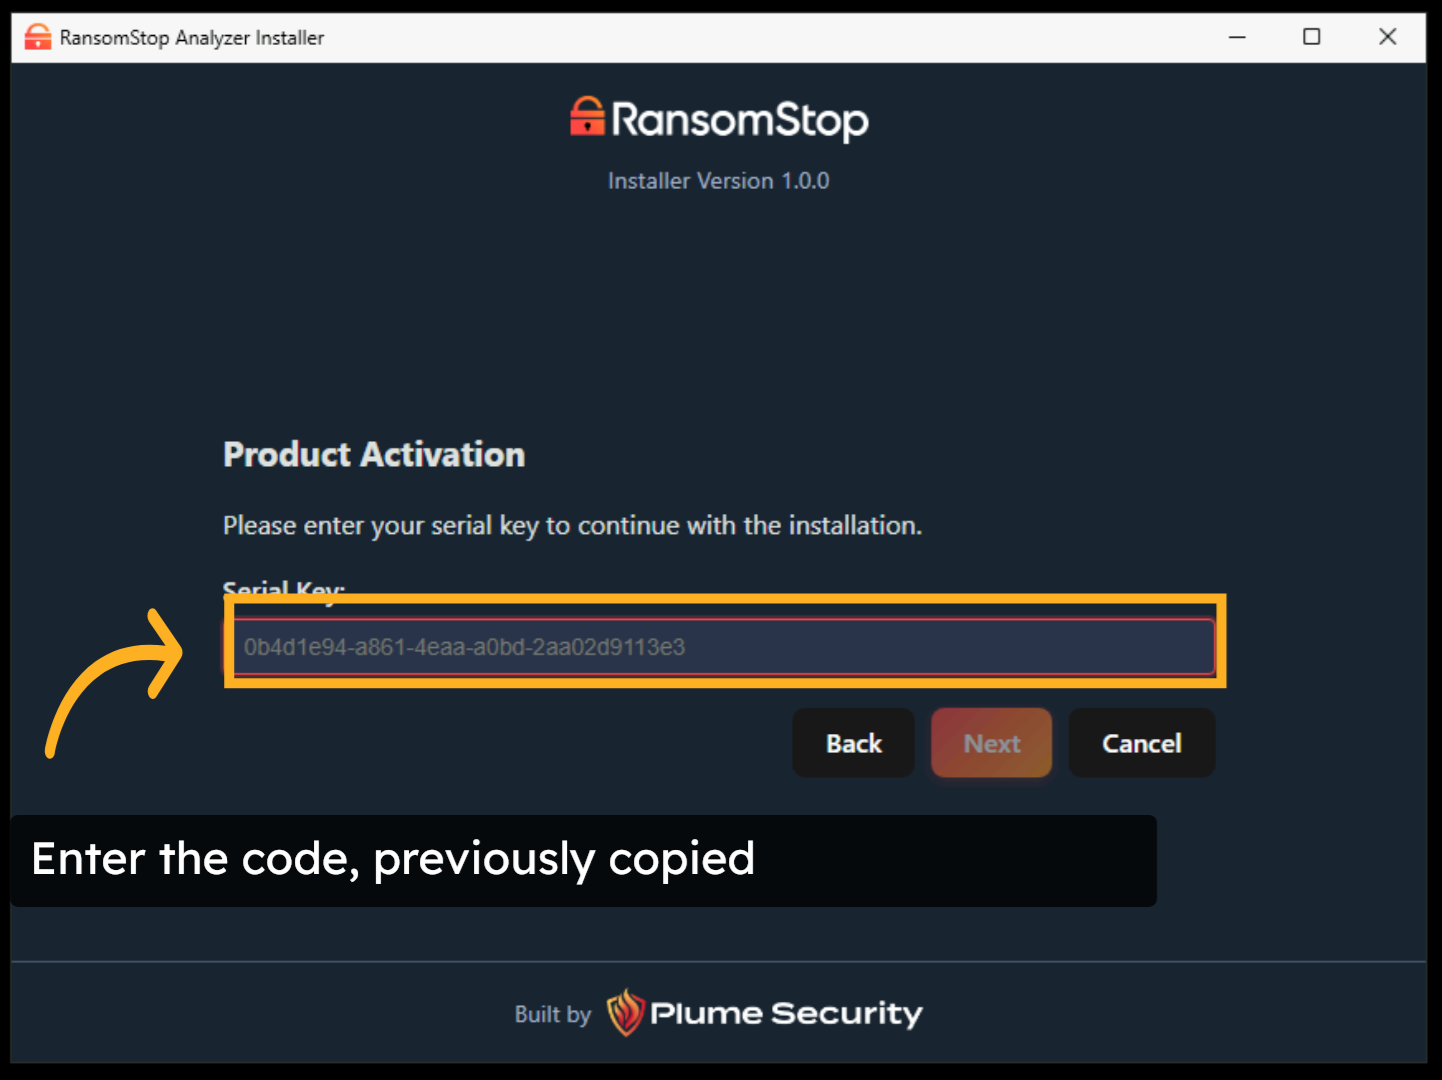
15. Enter Serial Key
In this step, you will enter the serial key or code that was copied from the previous step.
16. Accept the EULA
Read the EULA. Check that you have read and agree to the EULA and click Accept and Continue.

17. Choose Installation Type
For standard installations, you can just pick the Default Installation and click Next.

18. Review and Install
Review your installation settings and validate that the checkbox is selected to register as a system service. This requires administrator privileges. Click Install to continue.

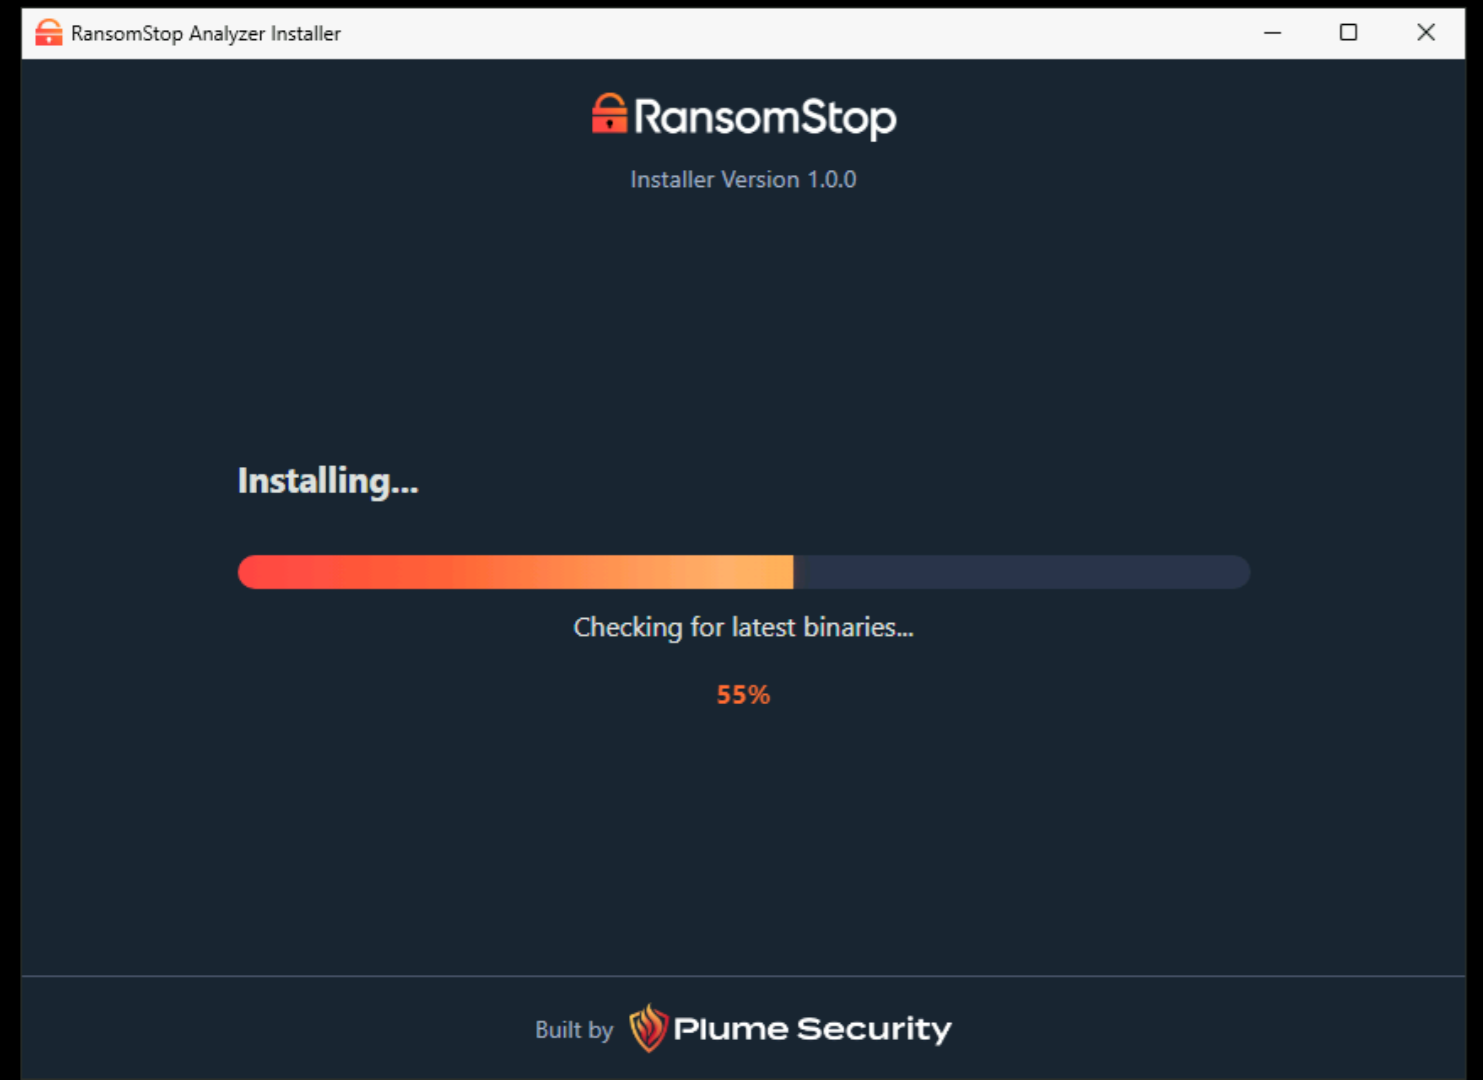
19. Installation Progress
At this point, the installation will begin. At each step during the process, progress will be shown by a progress bar. The system settings configuration can take several minutes depending on the system size.
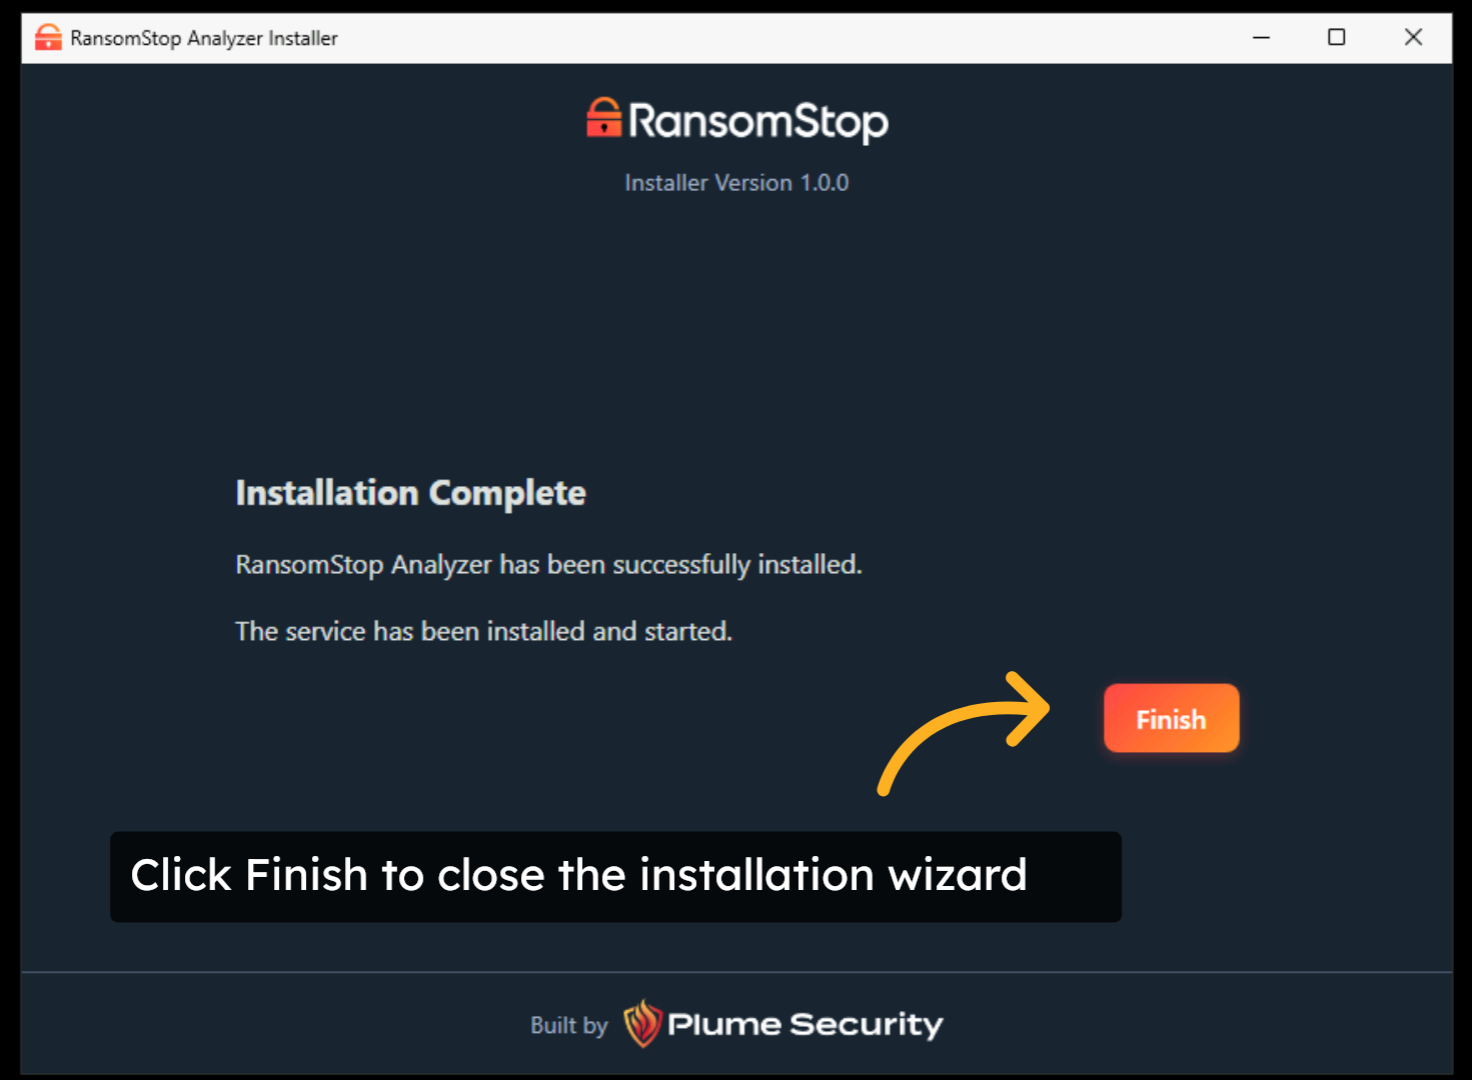
20. Installation Complete
When the installation is complete, you will see the Installation Complete screen. Click Finish to close the installation wizard.
Verify Installation
21. Check Program Files
To validate the installation, you will see an RSAnalyzer directory in your C:\Program Files directory.

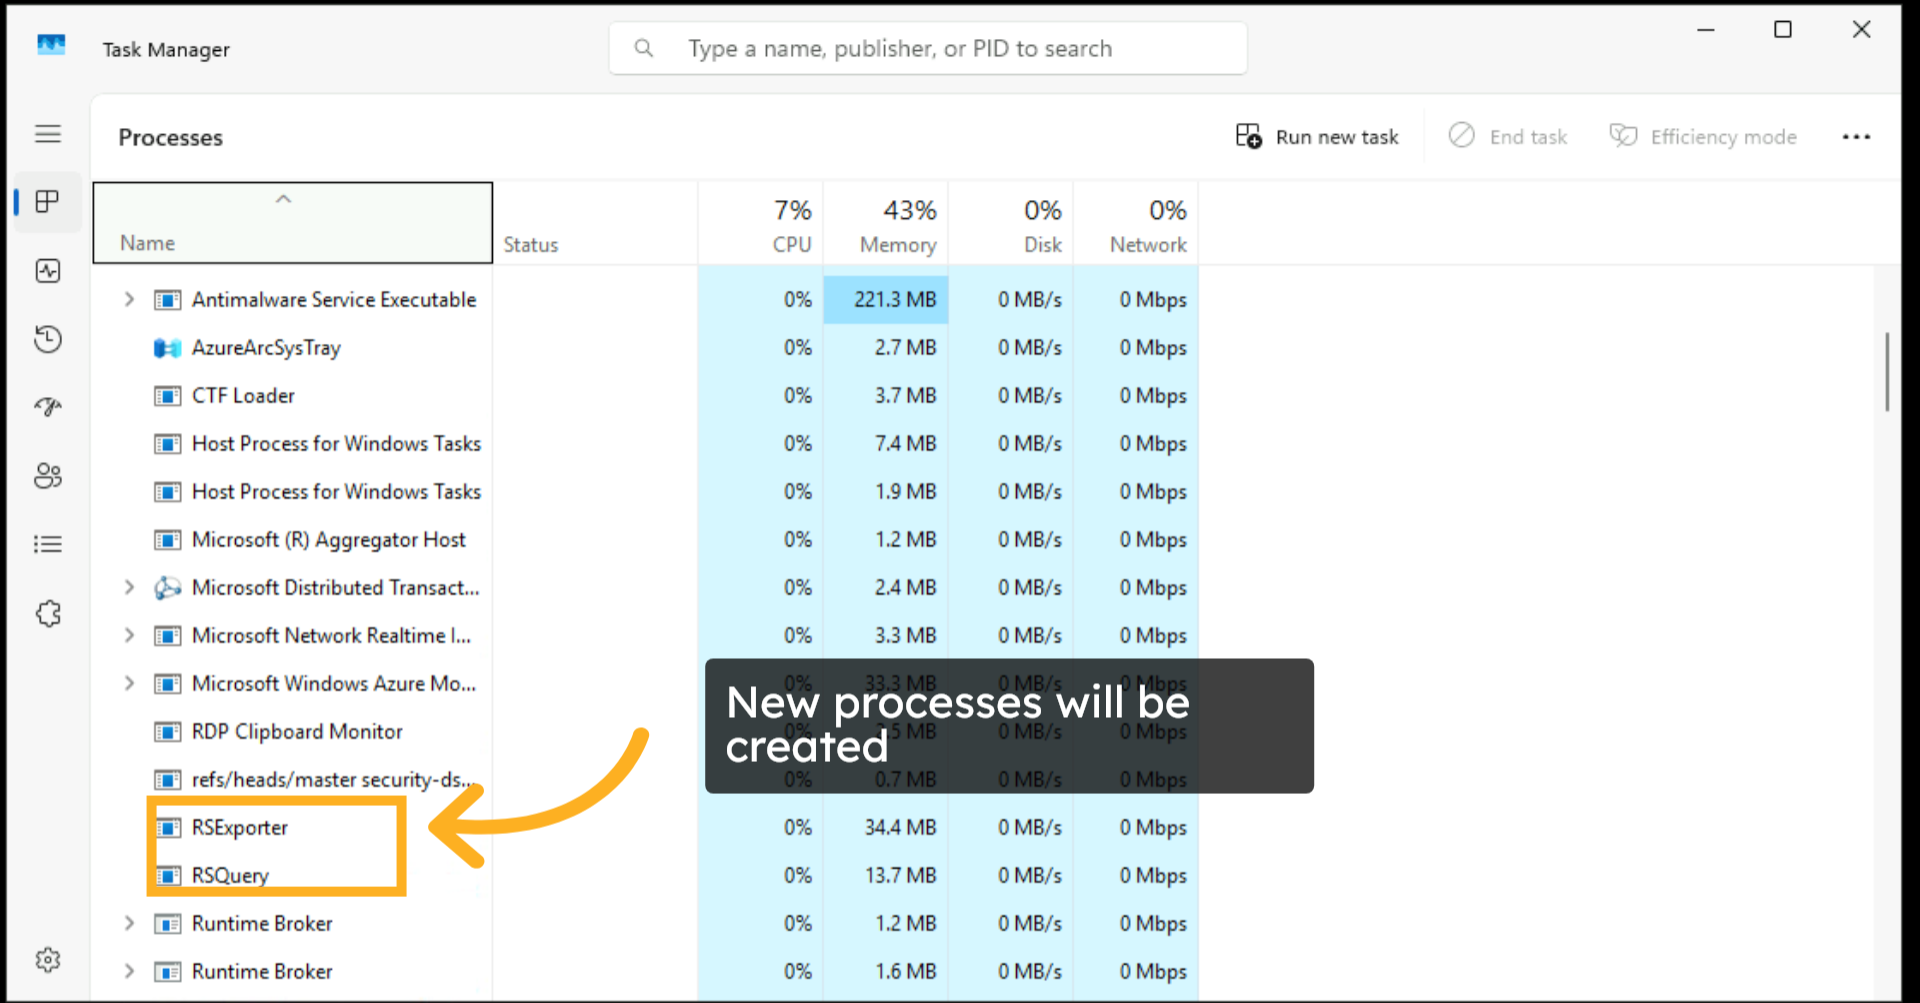
22. Check Running Processes
New processes will also be created. You can search for RSExporter and RSQuery in Task Manager to validate the installation.
At this point, RansomStop should be fully installed and ready to detect ransomware.
Related Articles
Installing RansomStop for Google Drive
Overview RansomStop can monitor Google Drive and automatically suspend compromised user account which exhibit ransomware activity, i.e. malicious encryption events. To do this RansomStop has to be installed in your Google Cloud Platform (GCP) ...RansomStop Installation for NetApp
NetApp + RansomStop Deployment Runbook Part 1 - Pre-Call Validation Complete these checks before the installation call. If all checks pass, the deployment will proceed smoothly. 1. Confirm NetApp Details Have the following ready: Item Example NetApp ...Configure a Windows Active Directory Site
Overview Steps Configure A Windows Active Directory Site Deploy A Windows Active Directory Site Overview A site is a logical definition of a cloud account or an on-prem location. A site needs to be configured and deployed before you can deploy an ...Getting Started with the RansomStop Dashboard
Overview Welcome to the RansomStop Dashboard walkthrough. This guide covers the main features and navigation of the dashboard. Dashboard 1. Alerts The dashboard is the default log on screen. It gives you a quick overview of alerts and file activity. ...Integrating Active Directory
Overview For RansomStop to be able to suspend users in Active Directory, there is an integration that needs to be configured to allow RansomStop permissions to make those changes in real-time. In a nutshell, an AD service account is created with the ...